Free Express Delivery to UK MAINLAND

If you wish to restore a Victorian tiled floor, please read on!
The information within this article relates to Victorian geometric tiles, Victorian encaustic tiles, and Victorian quarry tiles.
You can also read our associated ‘how to guides’ for cleaning and sealing this type of tiled flooring. The links to which are at the foot of the page.
Direct links to specific products noted in this guide are highlighted in blue.
Please be aware that the subject of Victorian tile restoration is too in-depth for a single article, but the information contained within this article covers many of the main points.
The techniques and skills required for restoring a Victorian floor can be complex. You may need a professional to restore significant areas of damaged flooring.
Victorian floor tiles are often constructed of dust-pressed tiles, encaustic dust-pressed tiles (with a clay slip forming the pattern within the tile) or quarry tiles.
Patterned hallway floors are often a combination of plain tiles, forming geometric patterns, perhaps mixed with encaustic tiles.
Quarry tiles may be plain or (quite commonly) a red and black tile laid in a diamond pattern.
All these tiles are relatively soft and appear to suffer from fading. This ‘fading’ is usually just general wear which disrupts the surface of the tile. The colour of the tile is full-bodied, so the whole tile is a single colour from top to bottom, except for the pattern/clay slip set into a tile creating an encaustic tile.
The way Victorian floor tiles are set out is complex, particularly geometric/encaustic tiled floors. The patterns must repeat sufficiently within the border to create a design with some depth. The border, when well set out, will flow with the pattern repeating nicely around the main design.
Setting out is more difficult than it may look and there can be mistakes in the floor, if you look carefully. Some people suggest that the mistake was created on purpose as a signature of the tiler who laid the floor, but there is no historical evidence of this which relates to Victorian geometric floors.
The chances of a minor mistake not having been made are probably relatively low. Particularly when you consider the number of these floors which were constructed in relatively poor lighting. Tiles can easily be fixed into position upside down or similar colours mixed up when working quickly.
Victorian tiles are often of a differing thickness so were beaten or tapped into a semi-dry screed to allow for this. If this was not carried out there would be ‘lips’ present across the floor, where the thicker tiles would be sitting proud of the main area of the floor. Poor repairs often show up as raised (or castellated) tiles where tiles are not flush with the rest of the surface of the floor.
You will probably notice that there is no real grout line between the tiles on a Victorian tiled floor. This is because, as the tiles were set out, they were laid edge to edge. This makes restoration quite difficult as the removal and replacement of tiles is complex.
The only grout lines that appeared during construction are just the minor gaps that form due to the tiles not being completely square. This occurs even within tiles which appear to be the same size. Dust pressed tiles were made in moulds which splayed over time, producing a minor discrepancy in size.
The material you see between the tiles is lime screed which surfaced as the tile was tapped into position.
If you are replacing Victorian tiles, you should use the correct sized tile so there are no gaps around the tile. You can obtain reclaimed tiles, picking the correct colour, shape, and size. Or cut down reclaimed tiles to make them fit. If you do use a reproduction tile you can buy them in the correct imperial sizes and closely matched colours. Try and select a tile in a true Victorian imperial size with a square edge, such as the tiles produced by Craven Dunnill Jackfields Ltd.
Be aware that the tiles surrounding the areas you are working on will probably not be stable. You will need to create space under the tile for new adhesive by removing the old screed beneath the missing or lose tile. If you do not the tile will sit proud of the rest of the surface of the floor.
Tiles in doorways are often loose as they are high-traffic areas. It may also be due to the screed under the floor being compromised as pipework and electrics were installed under the floor. You may need to rebuild brick or stonework under the doorway to support the tiles in doorways to prevent them from further collapse.

This area is covered in more depth in our associated articles specifically relating to cleaning Victorian tiled floors. But as a quick guide, you will need to clean the floor with a deep cleaning agent such as Floorseal Intensive Tile Cleaner to remove dirt and water-based paints. You will also need something for the removal of old plaster dust, cements, and cement-based grouts.
After repairs have been carried out (or deep cleaning) it is beneficial to float a thin layer of cement-based grout over the entire floor. This will fill in minor cracks and gaps that have formed over the years – or due to your tile repairs.
If regrouting has occurred, we would recommend cleaning with Floorseal Cement & Grout Haze Remover.
Advanced cleaning can be carried out via flexible diamond pads fitted under rotary machines. It can negate the need for cleaning products as the pads are lubricated by just water fed through the machine. You would still need to clean the edges & corners by hand!

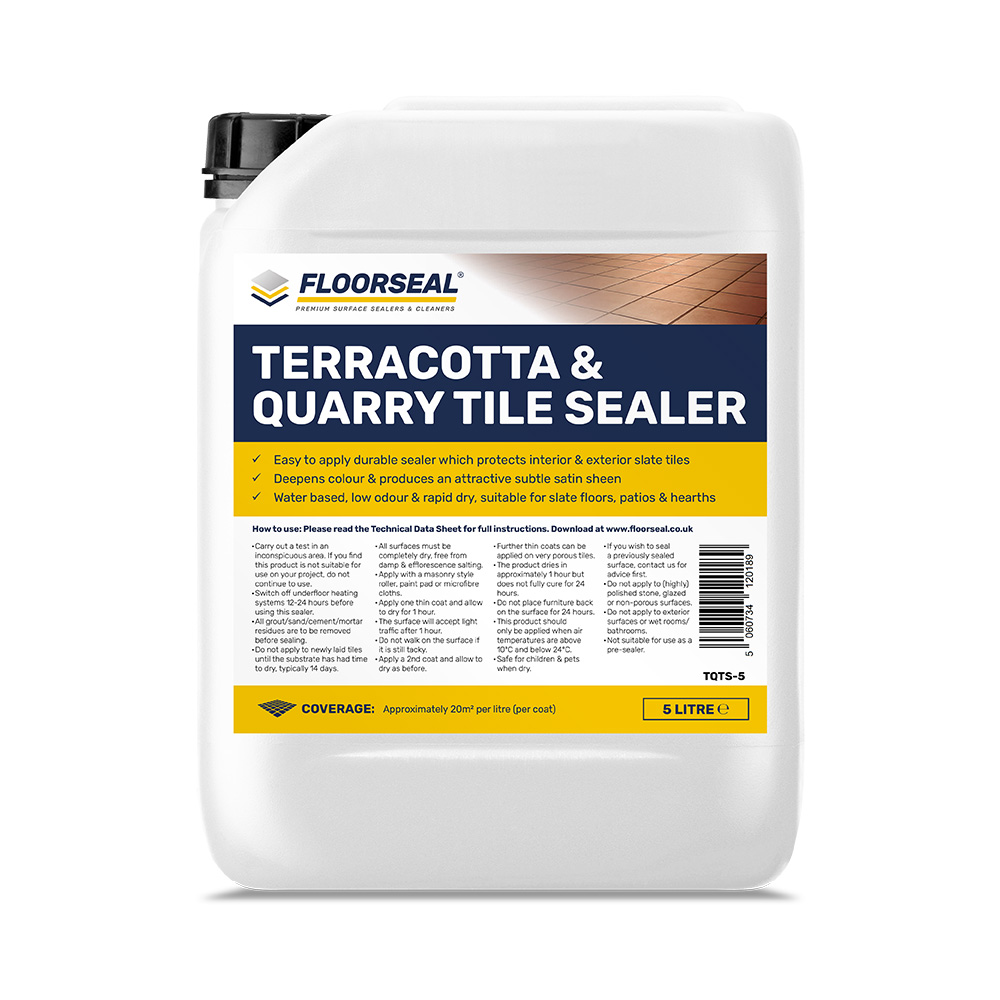
Victorian tiles tend to look faded and pastel-coloured after cleaning. Floorseal Terracotta & Quarry Tile Sealer can revive the appearance of older tiles for two reasons.
Firstly, a low sheen finish can make the tiles appear to be enriched, removing the lifeless very dull ‘matt’ appearance often present prior to sealing.
Secondly, a low sheen finish can appear to deepen the colour of the tile, thus invigorating the overall appearance of the floor.
Some people will feel the floor loses colour after cleaning; they do not lose colour. You are finally seeing a very clean floor, free of dirt and a mixture of cleaning agents and possibly old sealers.
Sealing the floor again usually remedies this. But please note patchiness can be related to the construction of the tile, the age of the tile and metallic content i.e. lead.
Your Victorian tiles need to be totally dry before sealing with any form of sealer. Dry tiles will be highly absorbent allowing the sealer to penetrate the pores and generally adhere to the surface.
A damp tile will conflict with any type of sealer applied to it, creating white patchy marks and possibly a lack of adhesion. Make sure your tiles are dry before sealing!
Neutralise cleaning agents by rinsing the tiles with plenty of clean water & possibly a neutralising agent such as a grout haze remover.
*Victorian tiles are soft! they can take 5 days (or more) to become fully dry.
We recommend sealing with Floorseal Terracotta & Quarry Tile Sealer. This sealing product should be applied in 2 to 3 coats to a dry floor.
Terracotta & Quarry Tile Sealer will produce a low sheen and slightly deepen surface colours. This enriches the earthy tones associated with clay-based tiles like Victorian tiles.
Do not allow the sealer to become wet during the curing time.
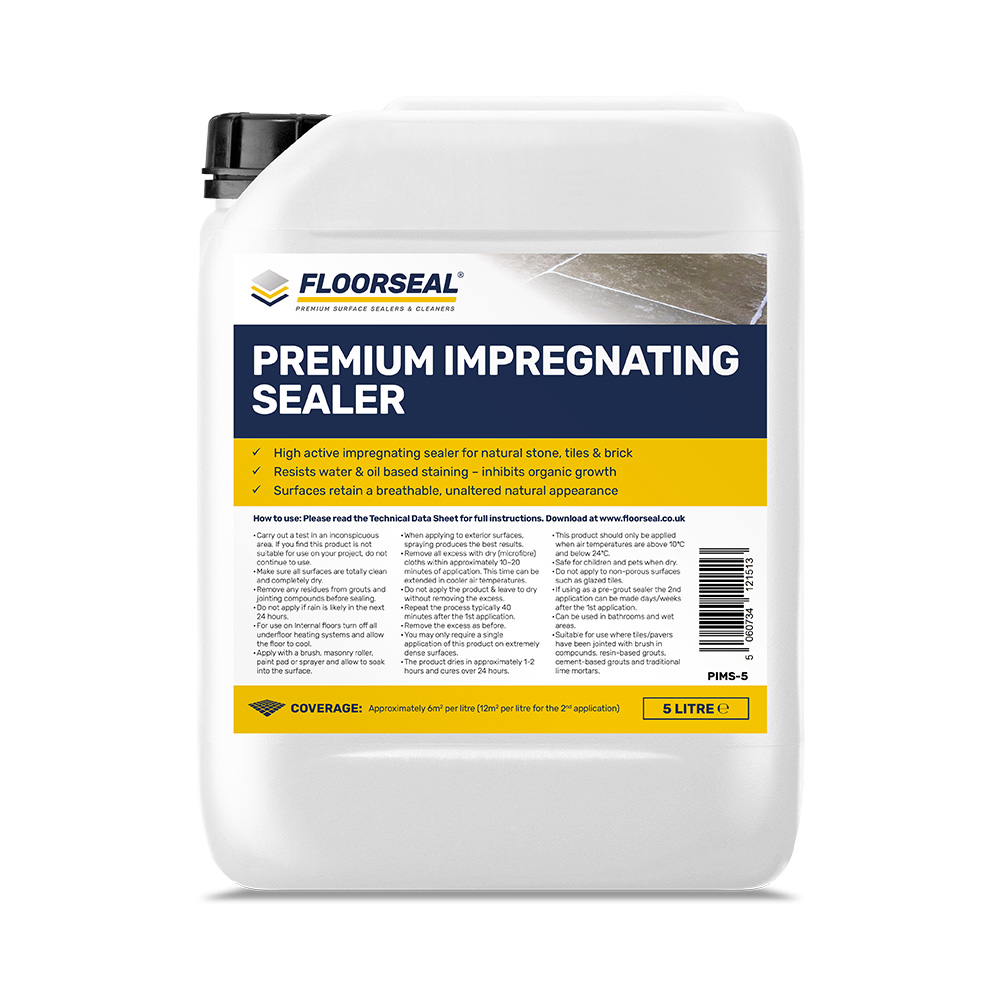
You should use an impregnating sealer like Floorseal Premium Impregnating Sealer. This sealer does not create a sheen. It will leave the tile with an unaltered matt appearance.
Victorian floor tiles are normally located in hallways and kitchens but occasionally a room has been portioned into a ground-floor bathroom. Or the floor may display clear signs of ongoing dampness, like calcified efflorescence.

Floorseal Terracotta & Quarry Tile Sealer – is suitable for sealing Victorian tiles with a satin finish. This sealer can appear to enrich earthy colours of internal tiled floors.
Floorseal Premium Impregnating Sealer – for sealing tiles in wet areas such as bathrooms. This product does not alter the colour of the tile. It is simply a waterproofing agent i.e., no sheen. Can also be used on external floors.
Floorseal Intensive Tile Cleaner – for deep cleaning Victorian tiles of general dirt and water-based paint.
Floorseal Cement & Grout Haze Remover – for the removal of cement-based grout, cements, efflorescence and neutralising the floor after using intensive tile cleaner.
Please click here to view our associated how-to guide for cleaning Victorian tiles.
Or read our associated article about sealing Victorian floor tiles.
This article cannot possibly cover all aspects of cleaning, sealing and renovating Victorian tiles. For this reason, the information contained within this article is not exhaustive. If you need further information please contact us or email us Info@floorseal.co.uk